After adding the plugin to your page, you will see an interface of the plugin and a page to add your images.
Adding your images
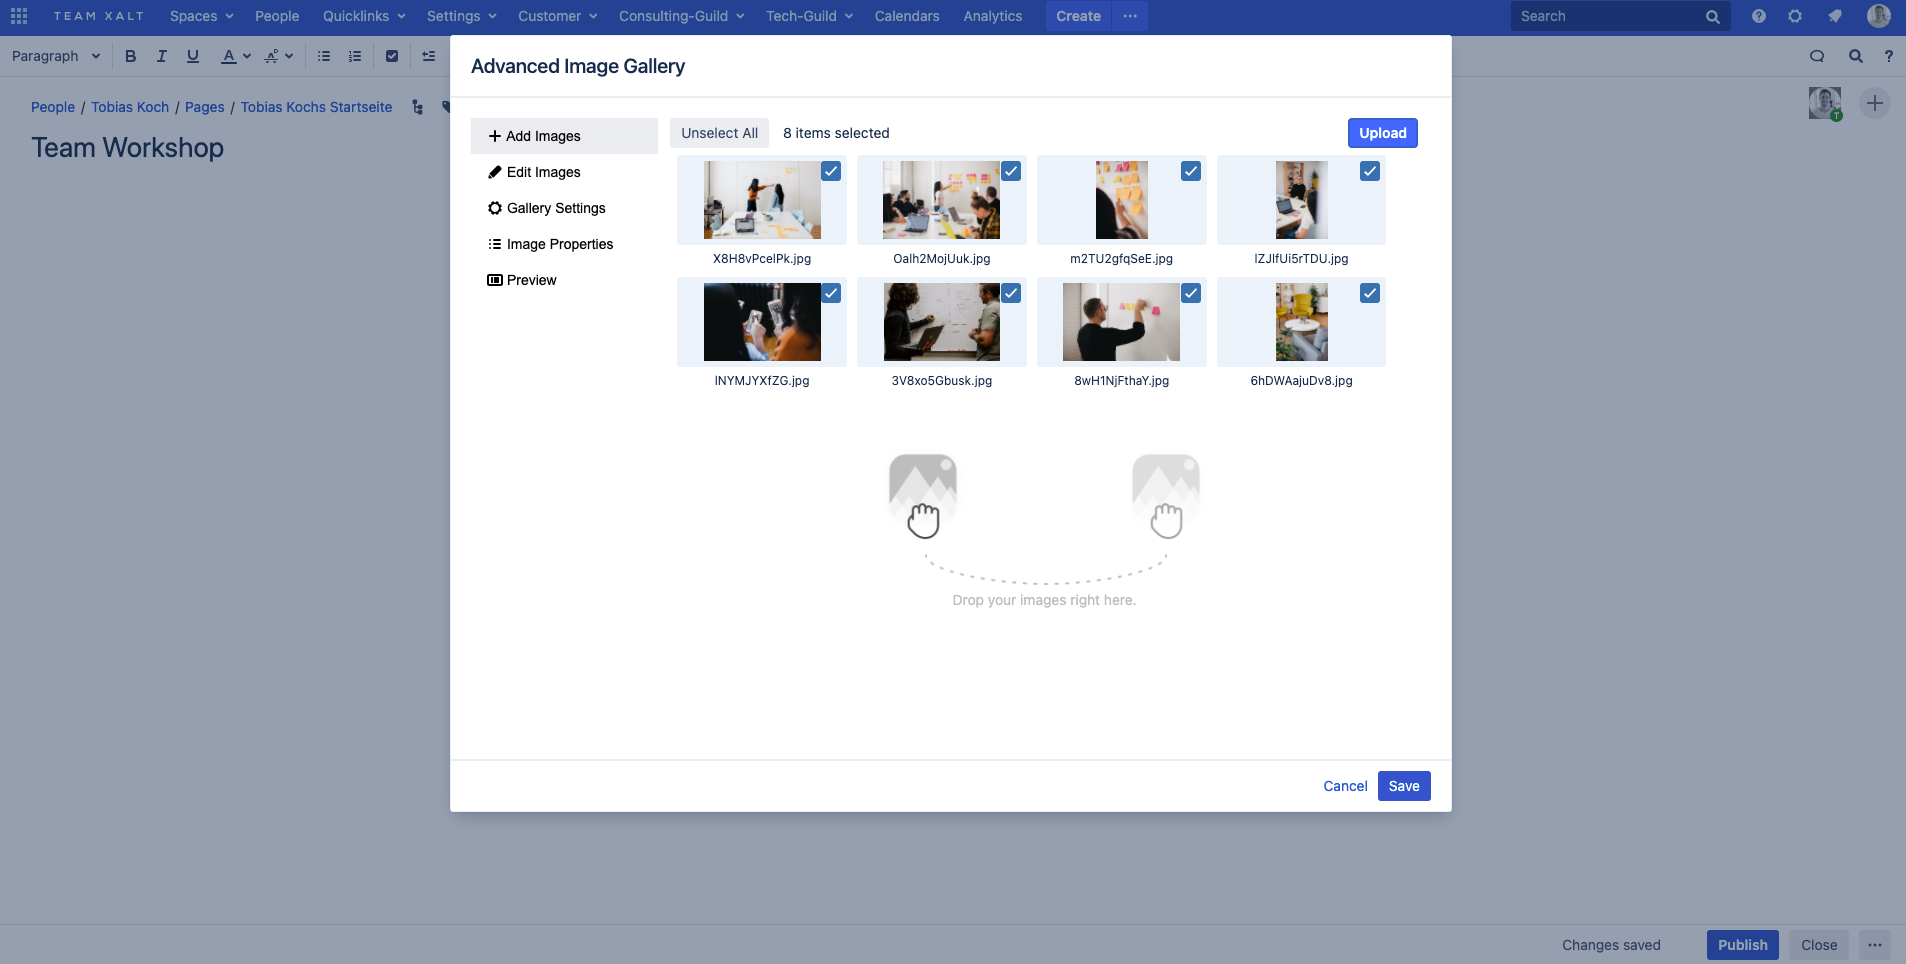
Start using the plugin with adding your images. Add images to the plugin via the Upload-Button or comfortable via Drag-and-Drop.
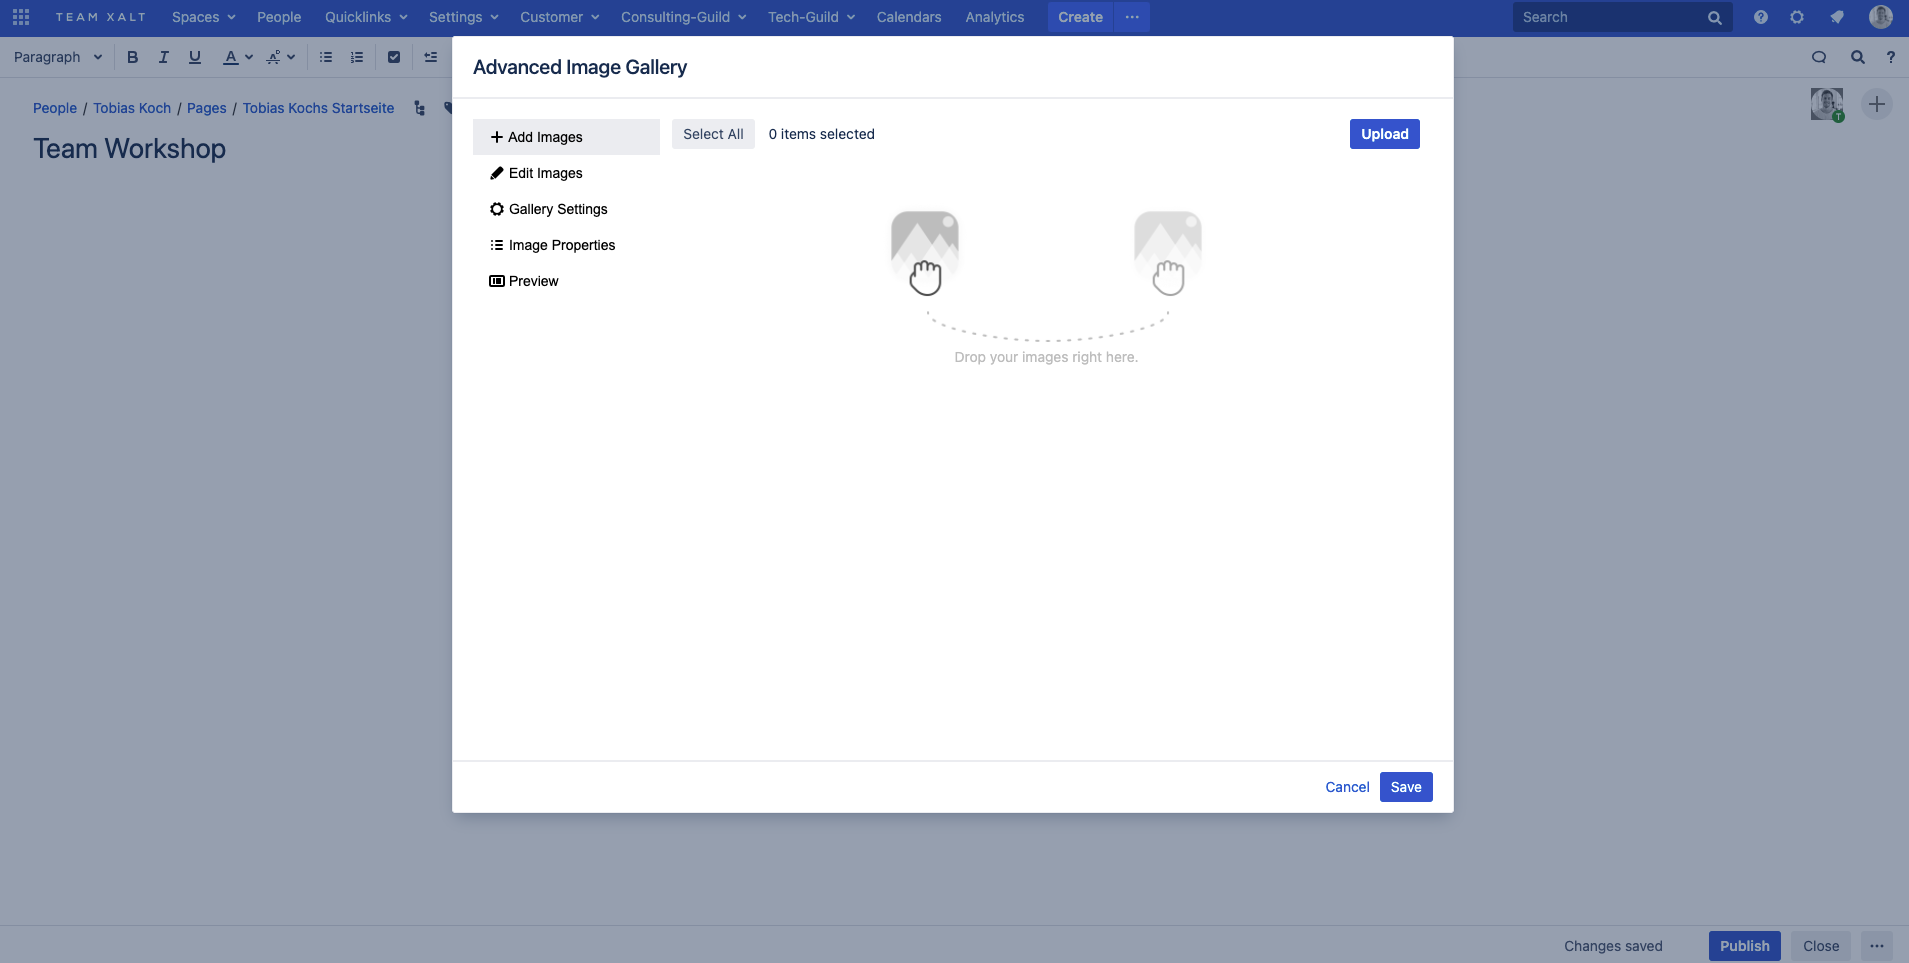
After you have added your images to the plugin, you have the option to select the images you want to display. This can be customized at any time, which means that you can switch to the Gallery's edit mode and either select or deselect specific images.
Editing your added images
In the next step, the plugin gives you the possibility to edit the selected images. Here you have the following options:
- You can crop the images using the crop function.
- You can rotate the images counterclockwise and clockwise.
- You can mirror the images to either horizontal or vertical mirroring.
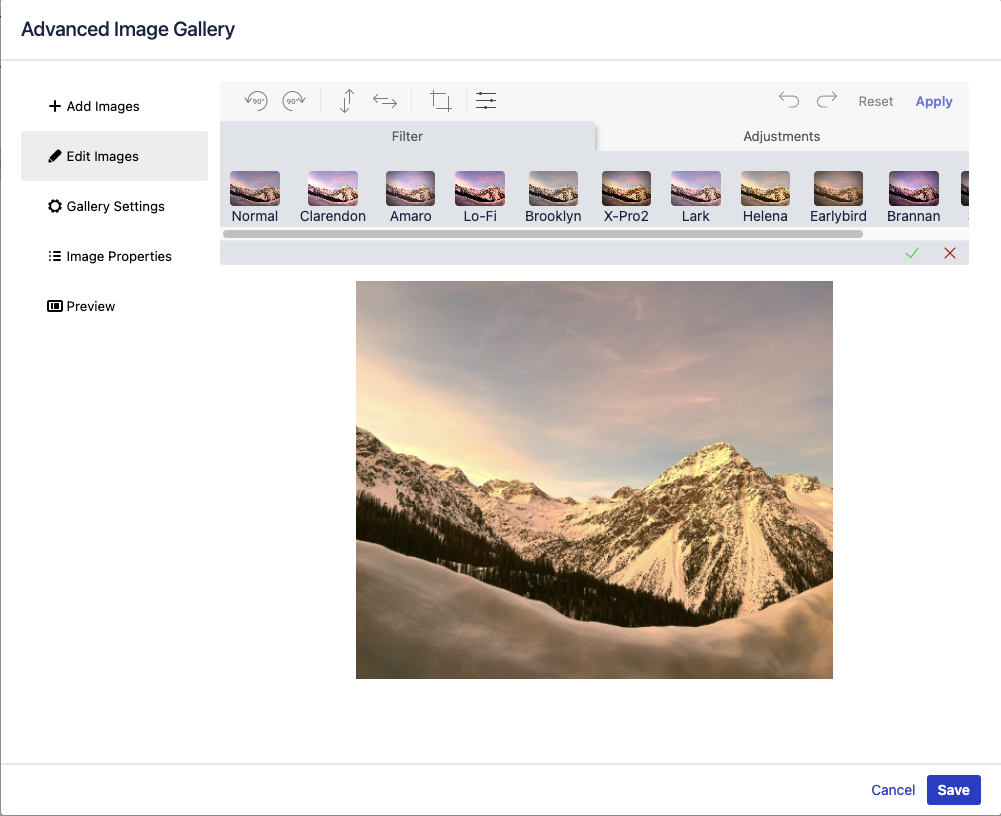
- You can add filters to the image.
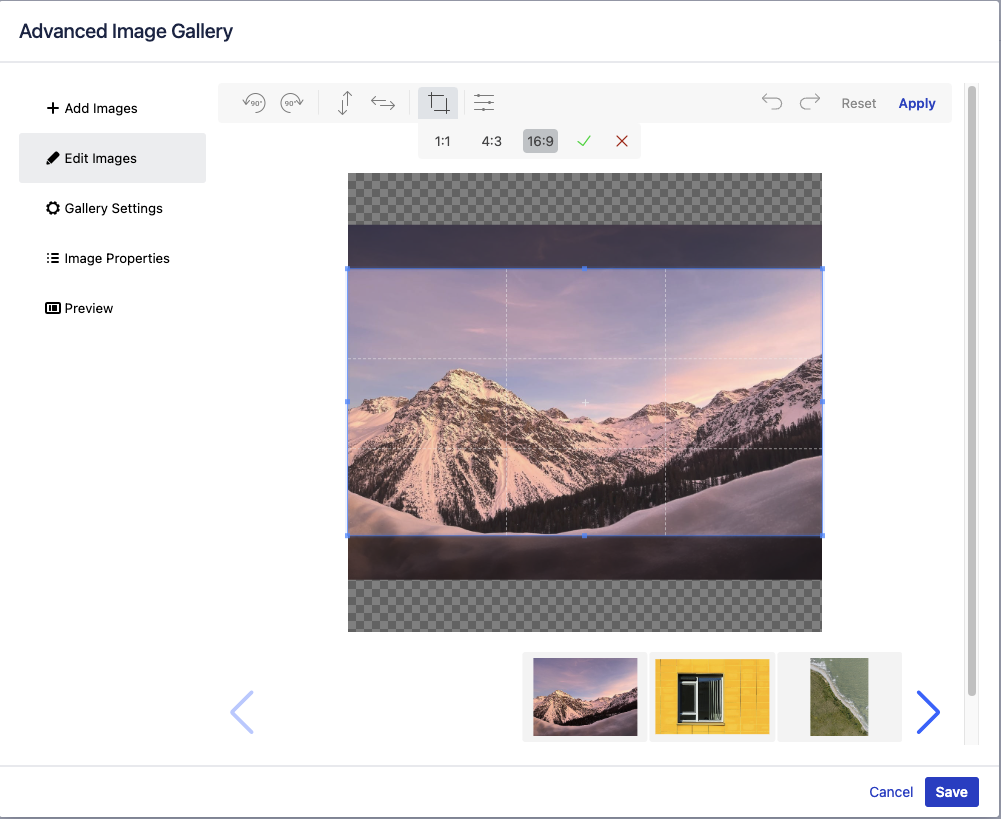
Cropping your image
Click on the following button to start cropping: 
Clicking the Crop button will display the default presets for cropping and clicking any of the presets will update the current crop area.
The crop area can still be freely adjusted.
If the changes are done, click on the  button to apply the crop.
Click the Apply button to finalize the cropping or the Reset button to revert.
Click on the Save button to update the gallery with the latest configuration.
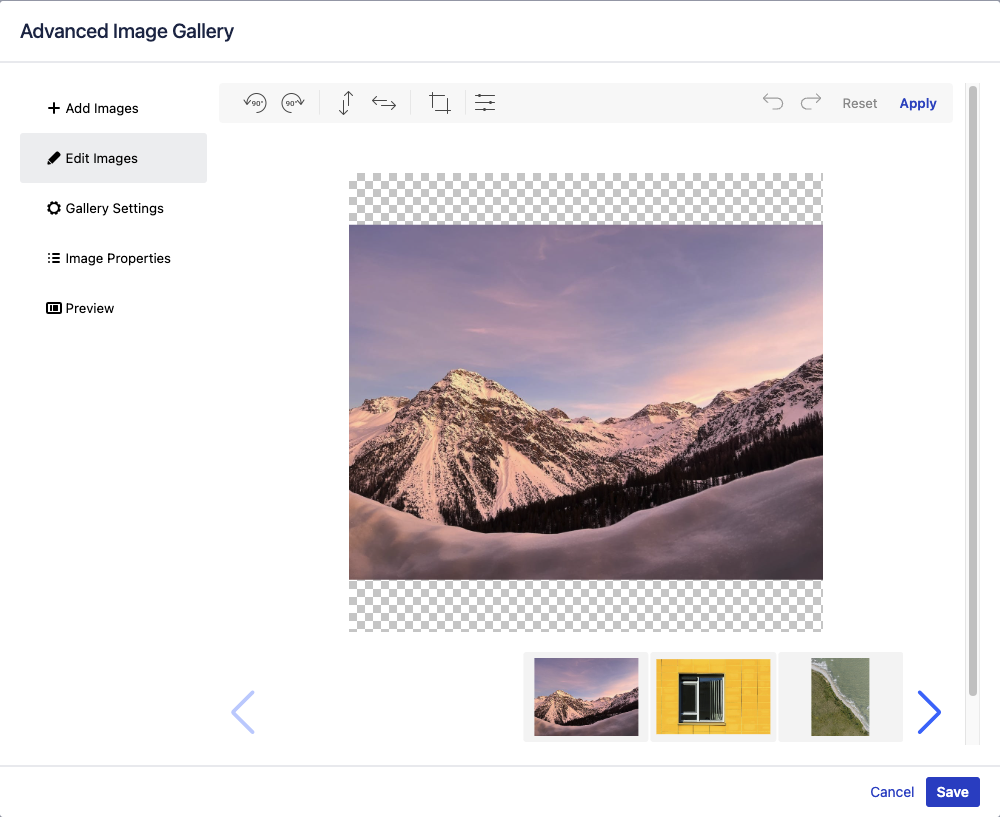
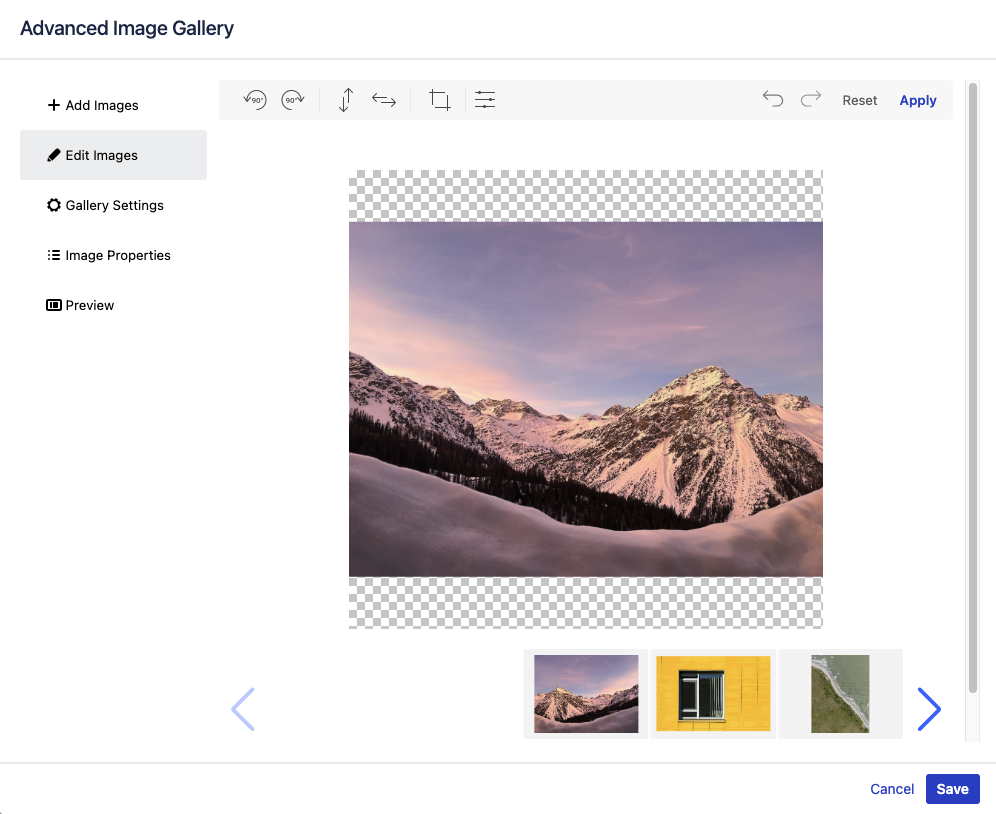
Rotating your image
Click on one of the two buttons 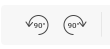 to rotate the images.

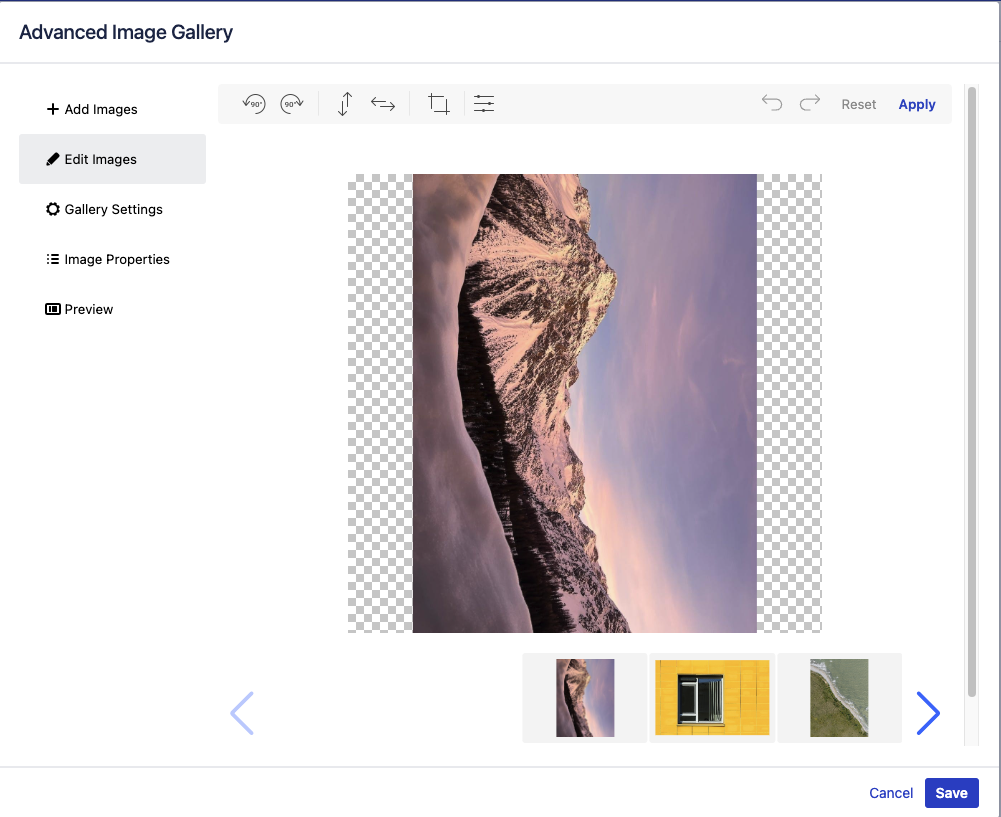
After the changes, click on the Apply button to save the changes. Click on the Save button to update the gallery with the latest configuration.