Balra is configured by REST-Request and can be done with Postman or Curl. In the future, we will build an Admin Ui for you!
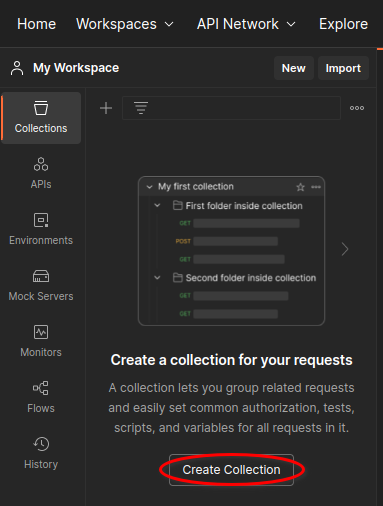
Open Postman and create a new collection.
Add two POST requests to the collection:
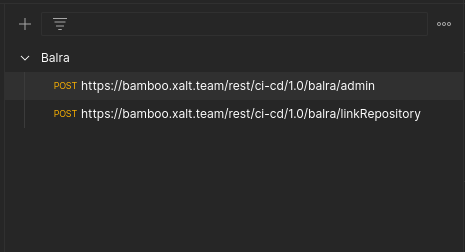
- Bamboo-Server-URL /rest/ci-cd/1.0/balra/admin
- Bamboo-Server-URL /rest/ci-cd/1.0/balra/linkRepository
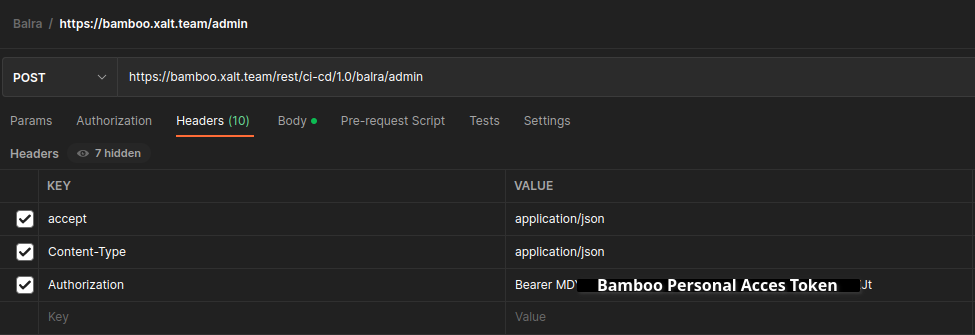
In the 'Headers' tab for both requests, enter the necessary headers for the request. These may include 'Accept', 'Content-Type', and 'Authorization'. They are the same.
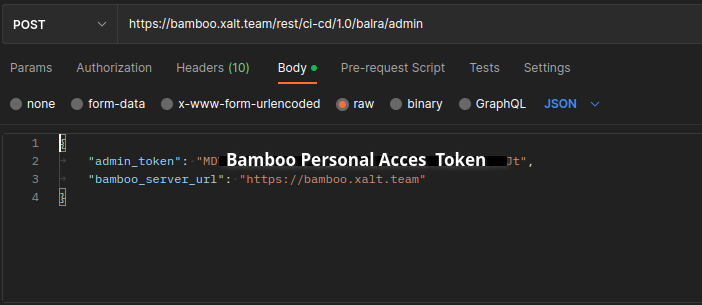
In the 'Body' tab for the /admin request, enter the required information for the request:
{ "admin_token": "", "bamboo_server_url": "" }
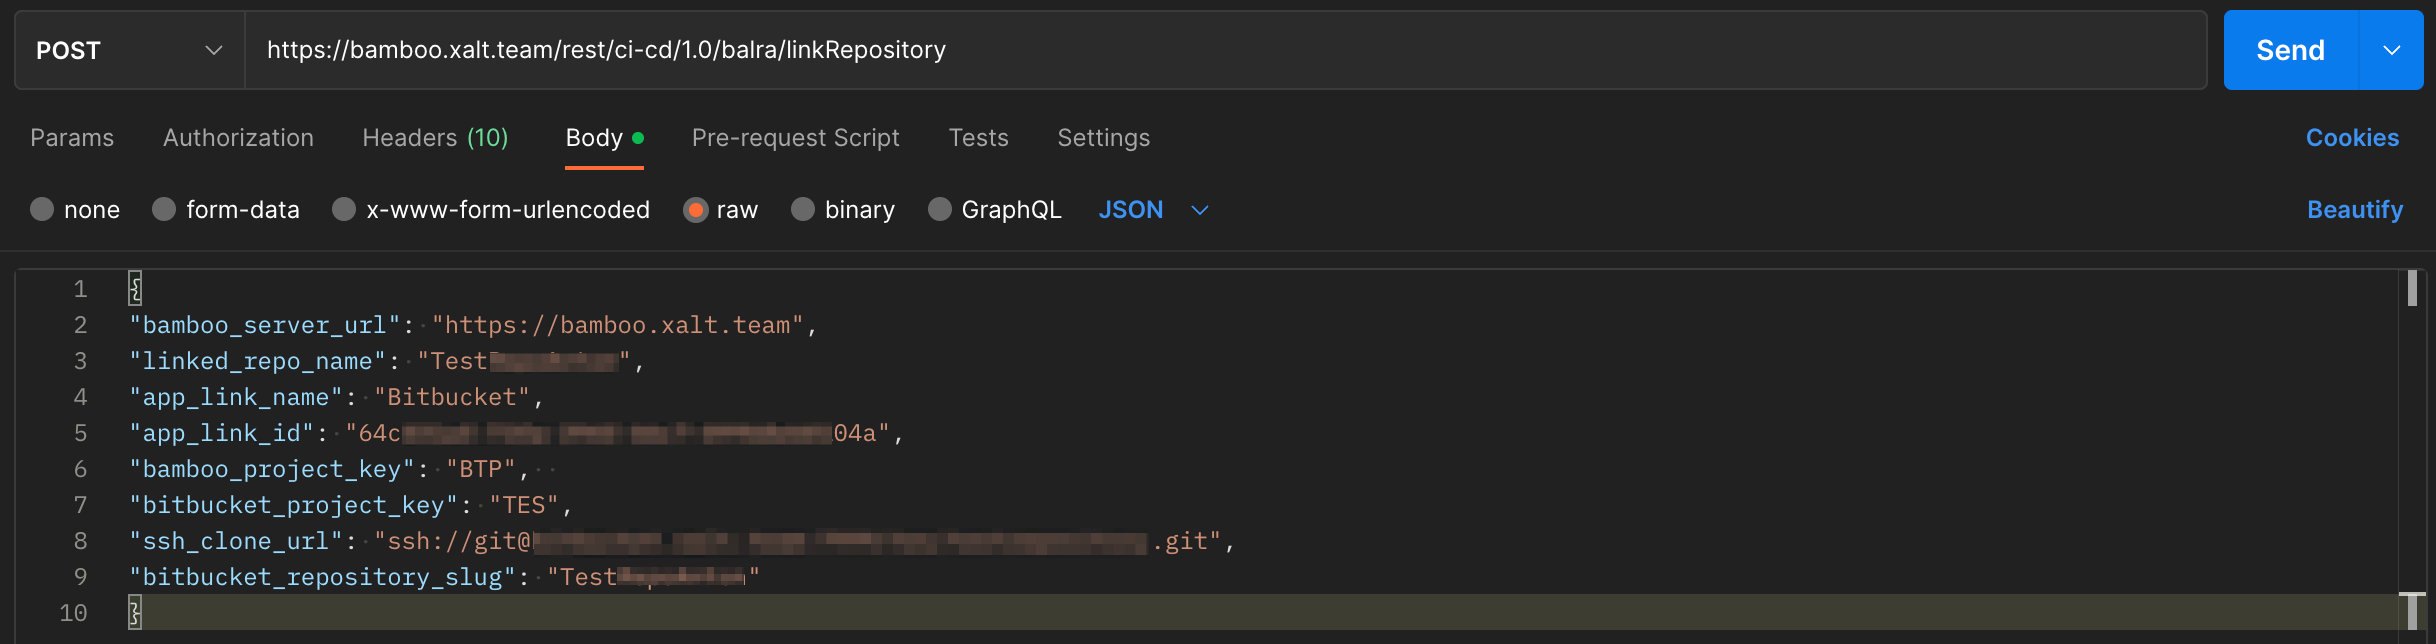
In the 'Body' tab for the /linkRepository request, enter the required information for the request: { "bamboo_server_url": "", "linked_repo_name": "", "app_link_name": "", "app_link_id": "", "bamboo_project_key": "", "bitbucket_project_key": "", "ssh_clone_url": "", "bitbucket_repository_slug": "" }
- Base URL of your bamboo server
- Repository Name (Note make sure that the Repository is not empty)
- The name of your linked Bitbucket (Can be seen in Bamboo under Application Links)
- Go to the Bamboo-Server-URL
/rest/applinks/1.0/listApplicationlinks.json copy what you get and put it in a json viewer, look for the right application, and copy the ID

- Bamboo Project Key
- Bitbucket Project Key
- SSH clone URL
- Bitbucket Repository Slug (seen in URL)
Repository Slug is seen in the URL of your Repository
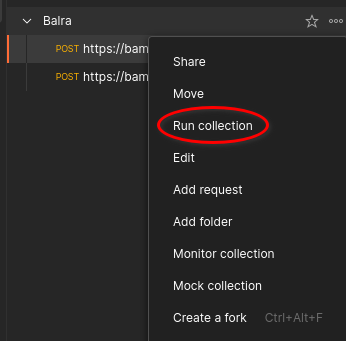
Run the collection to send the requests and complete the configuration of Balra.
Once configured you can send the following JSON data to the "/linkRepository" endpoint to quickly link repositories: { "ssh_clone_url": "", "bamboo_project_key": "" }
After configuring Balra, you'll be able to streamline your Bamboo build plans with ease. You won't have to rely on the CI/CD department to link repositories anymore - Balra can handle it all for you. So, follow the installation guide from the mentioned link to get started with Balra.